Measuring blisks automatically

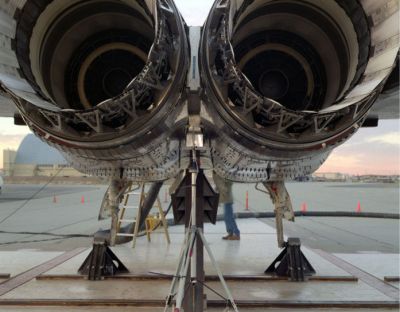
Measuring blisks automatically, fot. public domain
Nowadays, critical parts of aero engines are manufactured at different factories in different countries, requiring that their inspection is done in a unified way. For EU-funded researchers, the best way to ensure homogeneity is by automating the evaluation of these parts.
With the growing complexity of aero engines, determining the reliability of critical components like the turbines' bladed disks is getting more and more demanding. To comply with stringent standards in terms of quality and safety, these so-called blisks are currently checked by specialists for hours. Even the most infinitesimal fracture could diminish the reliability and durability of a component.
The discovered defects are measured down to micrometre scale to obtain a quantitative description. Optical measurement systems provide accurate data on surface defects. State-of-the-art tactile measurement systems are more suitable for inspection because of their lower resolution. Consequently, inspection and precise measurements of blisks are carried out separately.
In the future, all steps could be carried out with a single system developed by the EU-funded 'Automated geometrical measurement and visual inspection for blisks' (AMI4BLISK) project. This new solution for automated measuring and visual inspection of blisks consists of two coordinate measuring machines (CMMs) equipped with optical sensors.
The geometry of the blisk can be determined using the CMMs. In a first step, information about the actual shape of the component is collected along with data about possible deviations from desired dimensions. Its surface is also scanned by multiple cameras for irregularities. Both location and defect type (scratches, dips, etc) are stored for further analyses.
Project researchers have developed advanced algorithms for processing images of the blisks' surfaces. These need to be supplied with just a small number of samples specific to blisks to find and classify defects automatically. However, for those defects in question, additional inspection will need to be carried out by a specialist.
The final AMI4BLISK system will be able to complete the evaluation of a blisk, including visual inspection and automated measurement of defects, in less than eight hours. The reliability of blisk evaluation will be greater than what has been achieved until today, bringing with it technical as well as economical benefits for the aerospace industry.
AMI4BLISK has offered researchers the opportunity to develop an innovative solution that will allow the European aerospace industry to achieve tighter tolerances and remain ahead of the competition.
published: 2015-05-18